 |
2011 Lotus Exige S260 Final Edition |
 |
Exige page 1 Exige page 2 Exige page 3 Exige page 4 Exige page 5 Exige page 6
Exige page 7 Exige page 8 Exige page 9 Exige page 10 Exige page 11 Exige page 12
Exige page 13 Exige page 14 Exige page 15 Exige page 16 Exige page 17 Exige page 18
Exige page 19 Exige page 20 Exige page 21 Exige page 22 Exige page 23 Exige page 24
Exige page 25 Exige page 26 Exige page 27 Exige page 28 Exige page 29 Exige page 30
VIN : SCCLHHAC7BHA12388
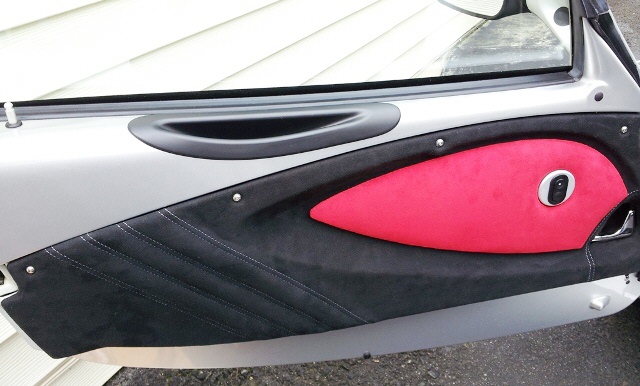
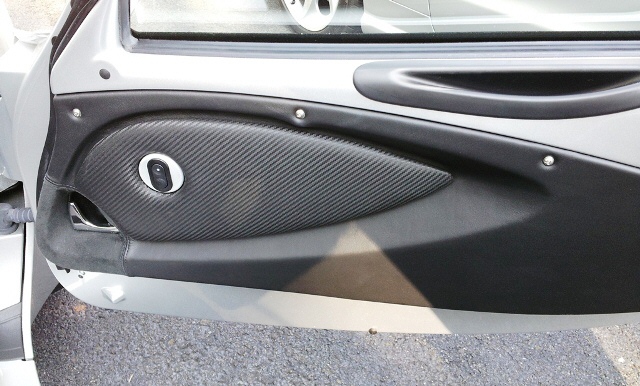
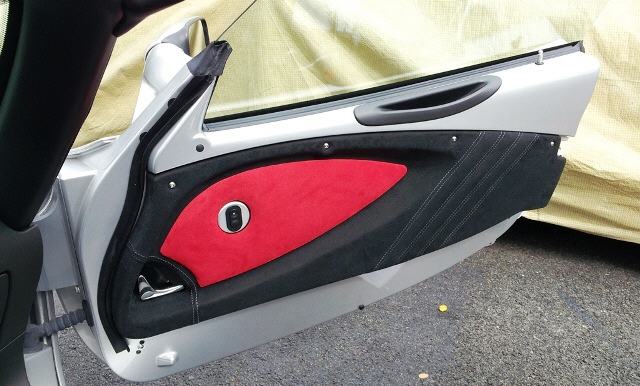
Before and After Interior
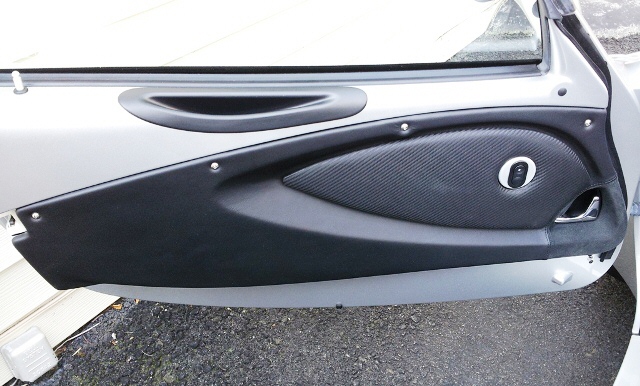
This was easy. Undo the screws and push the panels towards the back of the
door.
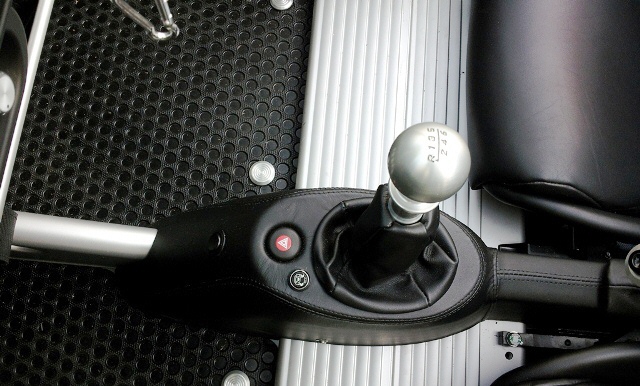
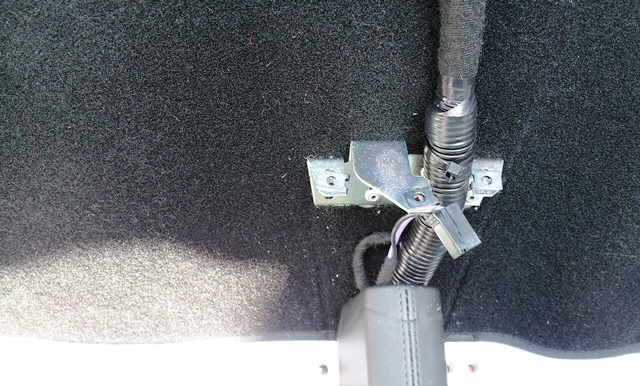
Check all the interior bolts and make sure they are not loose.
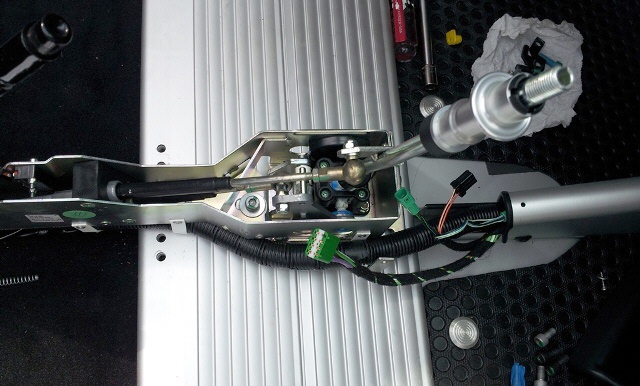
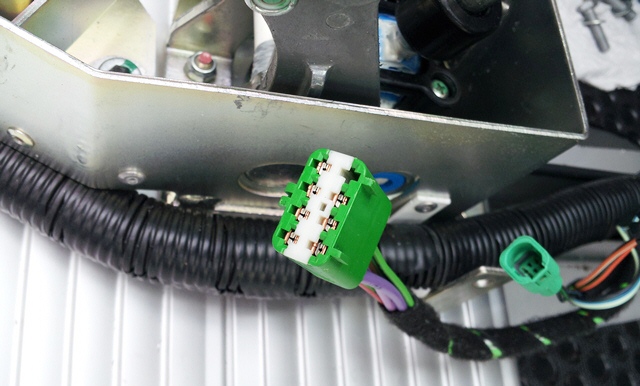
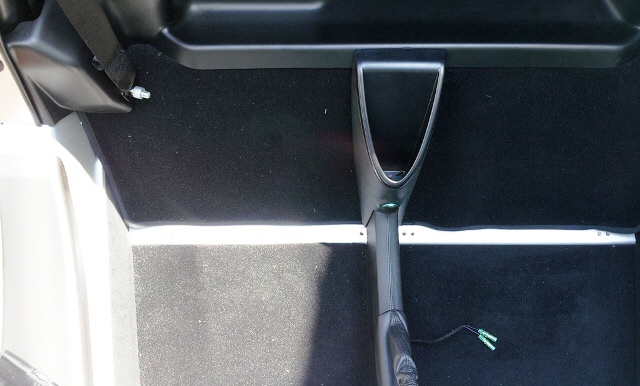
This one is a bit tricky. Make sure to undo the 3 connections
(2 if you do not have traction control)
This was a bit of pain to take out.
This one is for the emergency indicator. If you are not careful you may pull the
switch apart.
But you can put it back together easy.
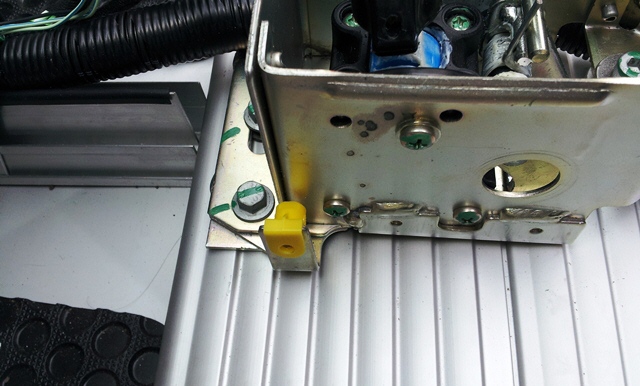
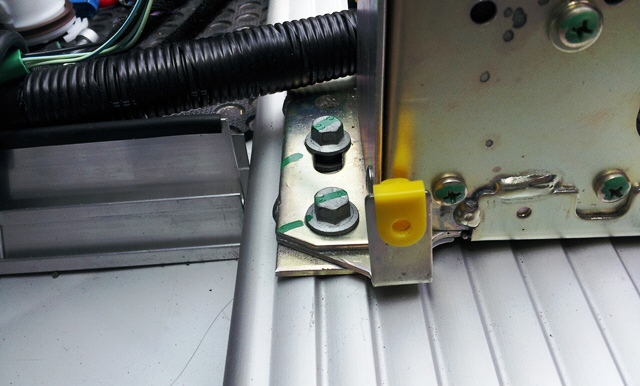
These yellow ones may come off as you are pulling the console away.
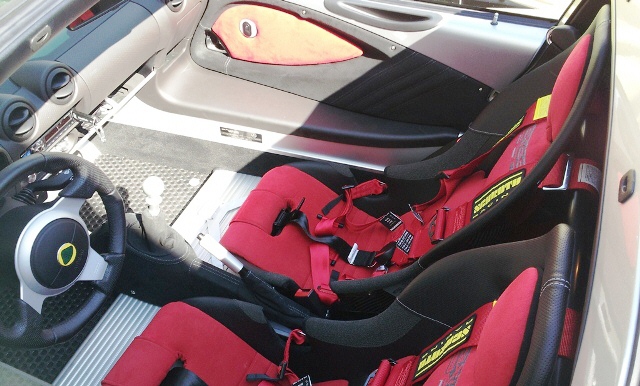
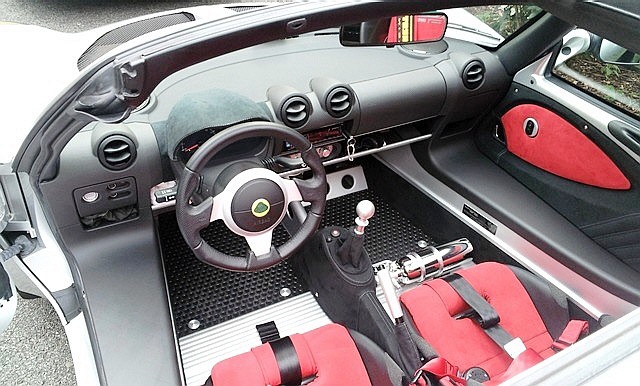
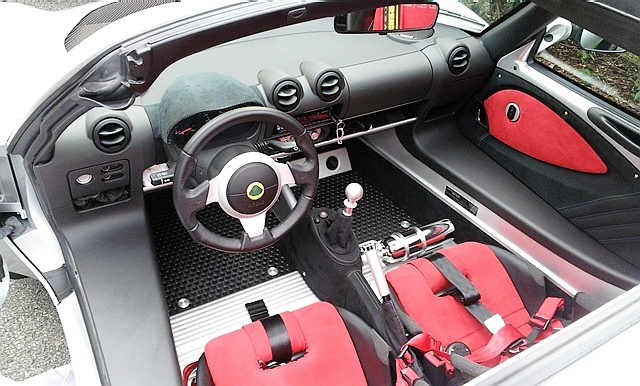
What a transformation.

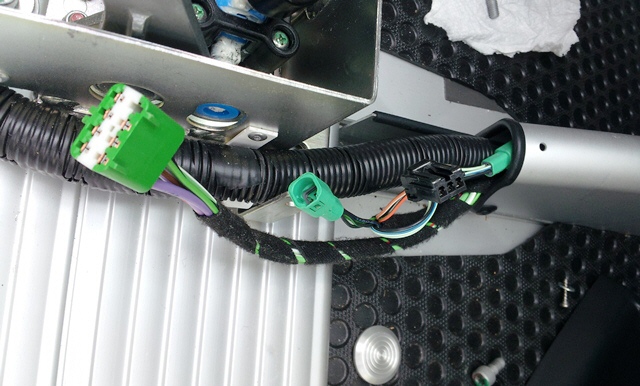
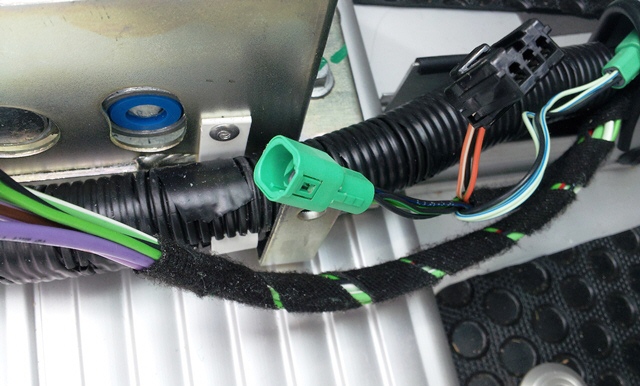
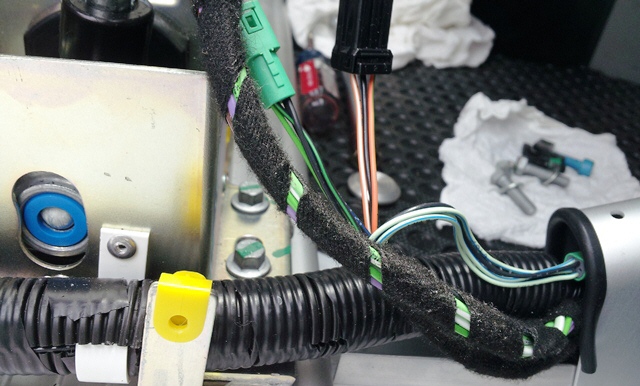
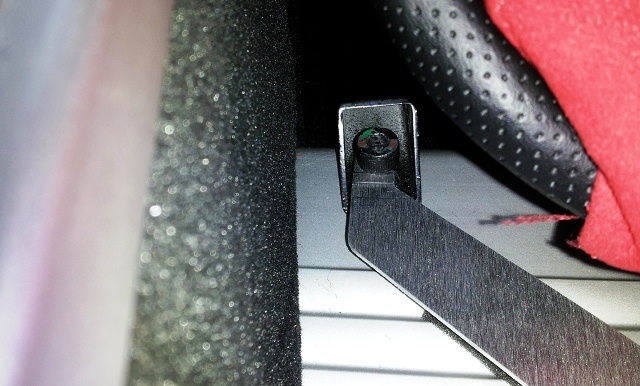
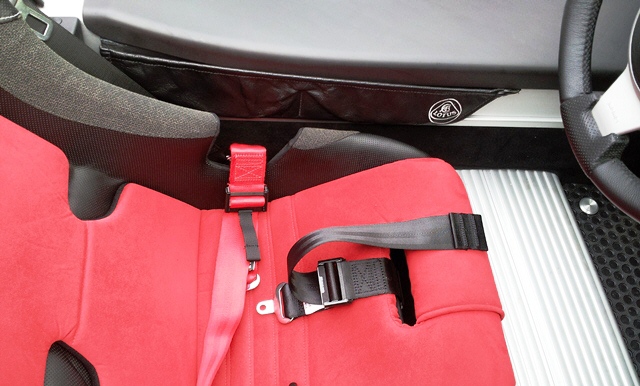
The green connectors go to the seatbelt. If you want the buzzer to stay
off do not connect them.
This is after the back cup holder is off.
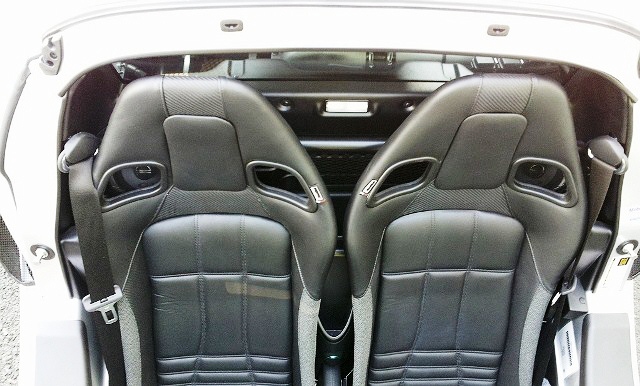
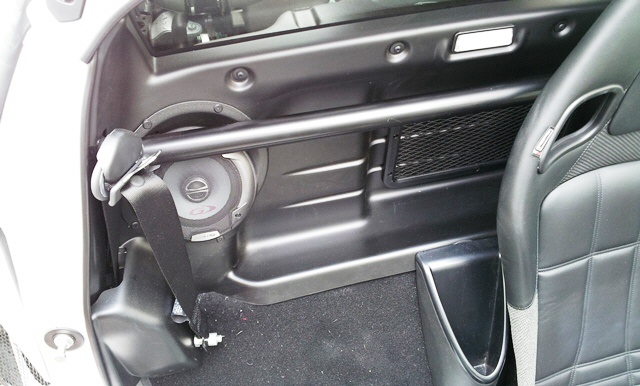
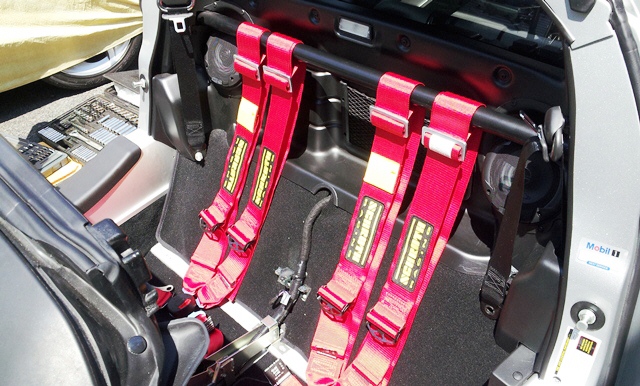
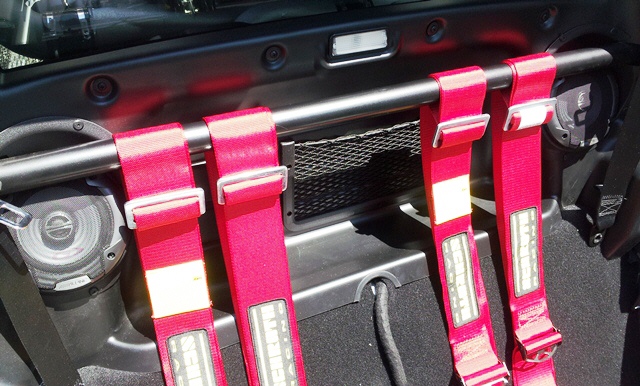
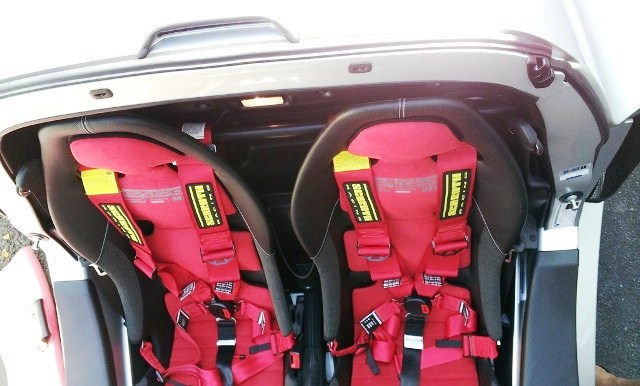
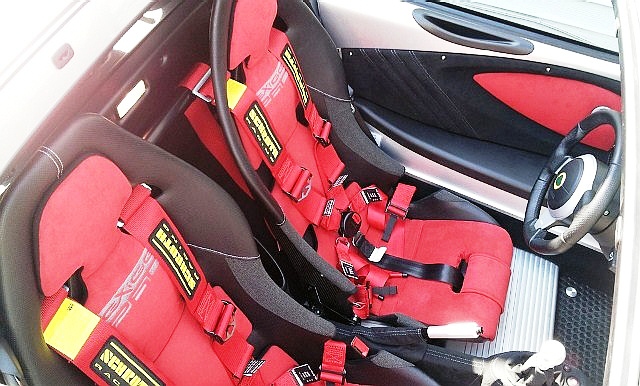
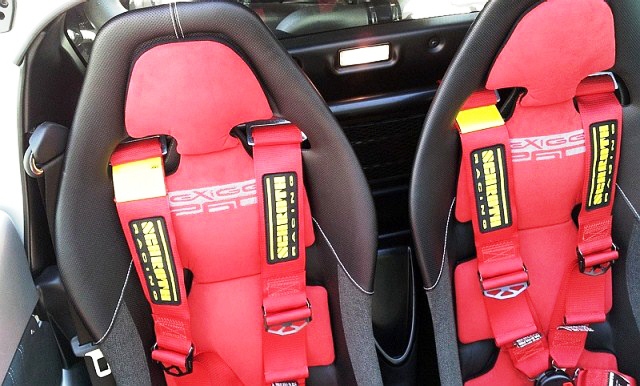
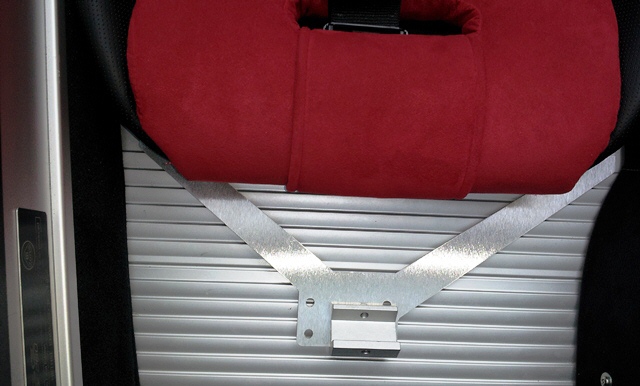
Seats are out and harnesses go in.
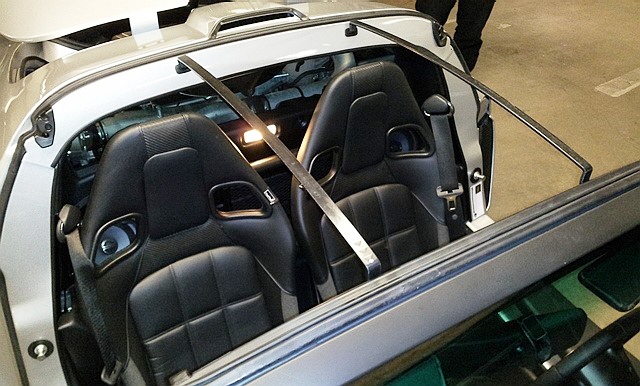
I saw someone do this. It looked cleaner.
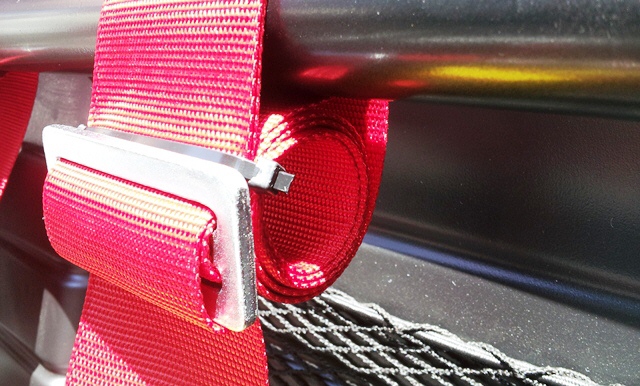
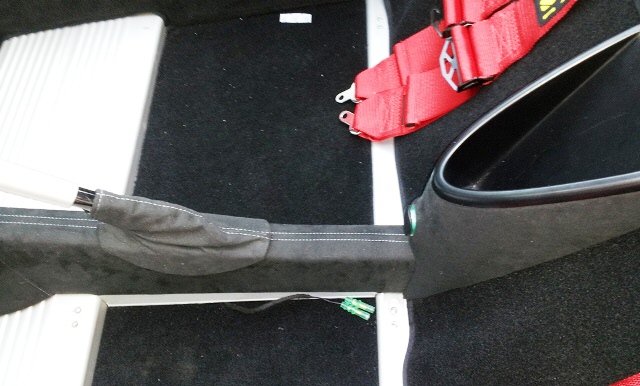
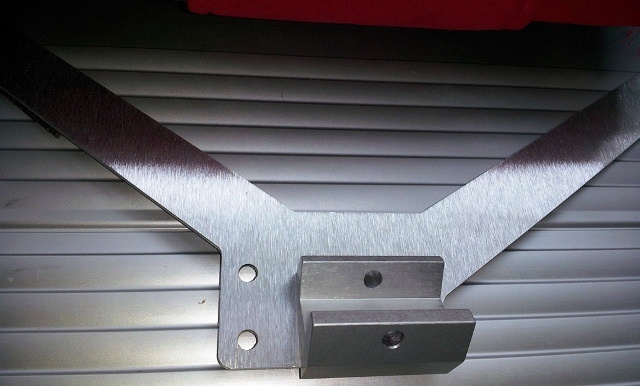
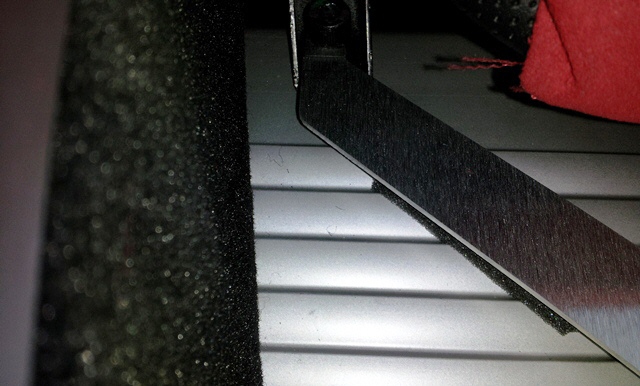
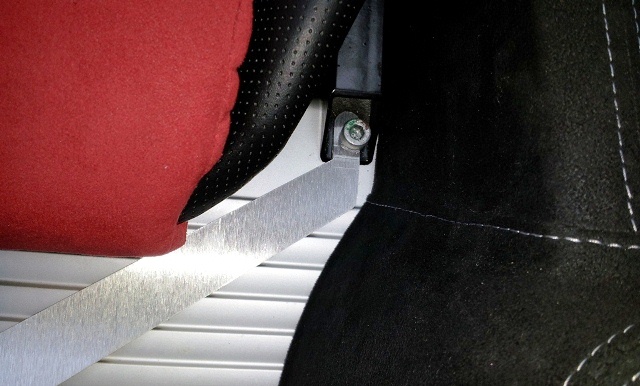
This is for the fifth point--make sure the bar is installed this way and not
flipped.
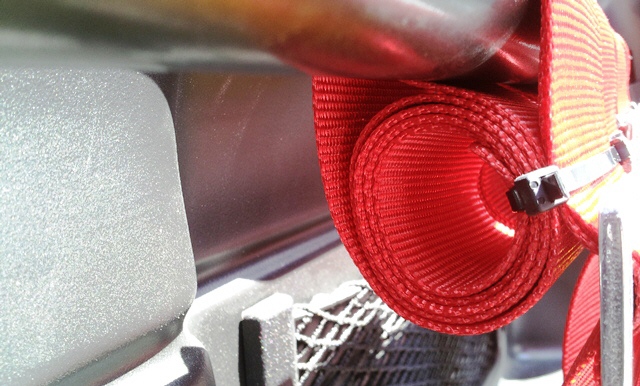
The fire extinguisher bracket goes next.
I used a bit of foam insulation to put under the metal bracket for extra protection
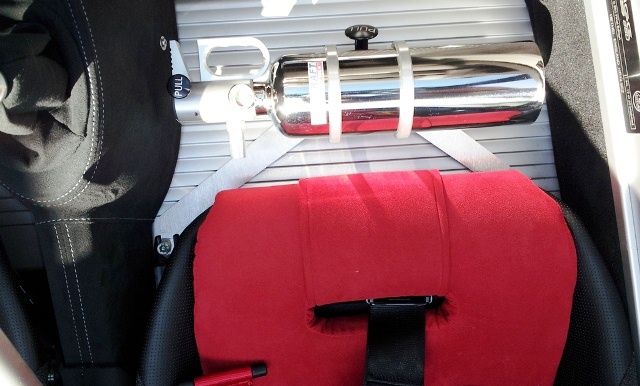
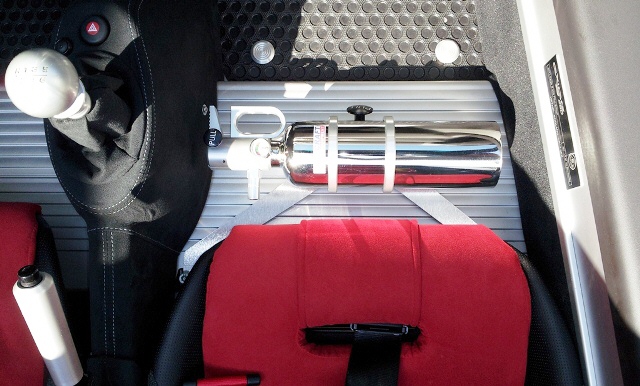
It is done.
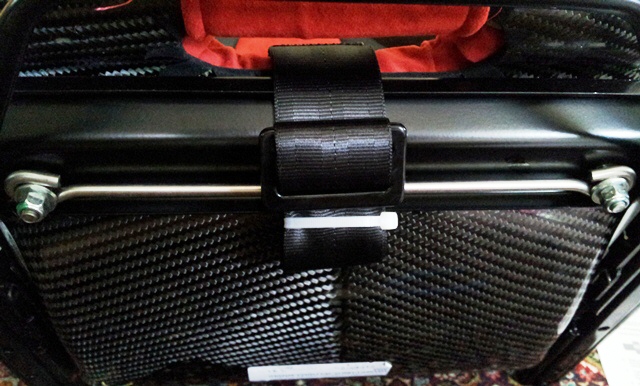
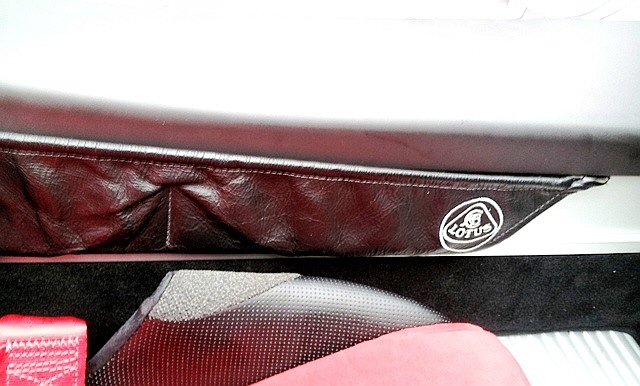
I always had an issue with my phone and wallet
Now THX to an LT member
"Marc"
I have a place for them.
And I am done for now with the interior.